How to Zoom in on CapCut: A Step-by-Step Guide for Beginners
Want to add cinematic flair or highlight crucial details in your CapCut videos? Mastering the art of zooming in is key! This comprehensive guide will walk you through various methods to zoom in on CapCut, empowering you to create engaging and professional-looking videos.
Here's what you'll learn:
- Why zooming is a valuable video editing technique
- Different methods to zoom in on CapCut (with step-by-step instructions)
- Tips for achieving smooth and seamless zoom effects
- Common mistakes to avoid
- Troubleshooting common zoom-related issues
- Expert advice on choosing the right zoom technique for different scenarios
Let's dive in!
Why Use Zoom Effects in Your Videos?
Zooming in and out isn't just a fancy trick; it's a powerful storytelling tool. Here's why:
Highlight important details: Zoom in on a facial expression, a product feature, or a key moment to emphasize its significance.
Add drama and impact: A slow zoom can build suspense, while a quick zoom can add energy and excitement.
Create cinematic transitions: Zooms can smoothly transition between scenes or create a sense of movement within a static shot.
Guide the viewer's attention:By controlling where the zoom focuses, you can direct your audience's gaze to specific elements.
Methods for Zooming in on CapCut
CapCut offers several ways to zoom in on your videos, with some variations between the mobile app and desktop versions. Let's explore each method:
1. Using the "Scale" Feature (Keyframe Animation)
Available on: Both Mobile App and Desktop
This is the most versatile method, offering precise control over the zoom speed, duration, and movement.
Step-by-step guide (Mobile App):
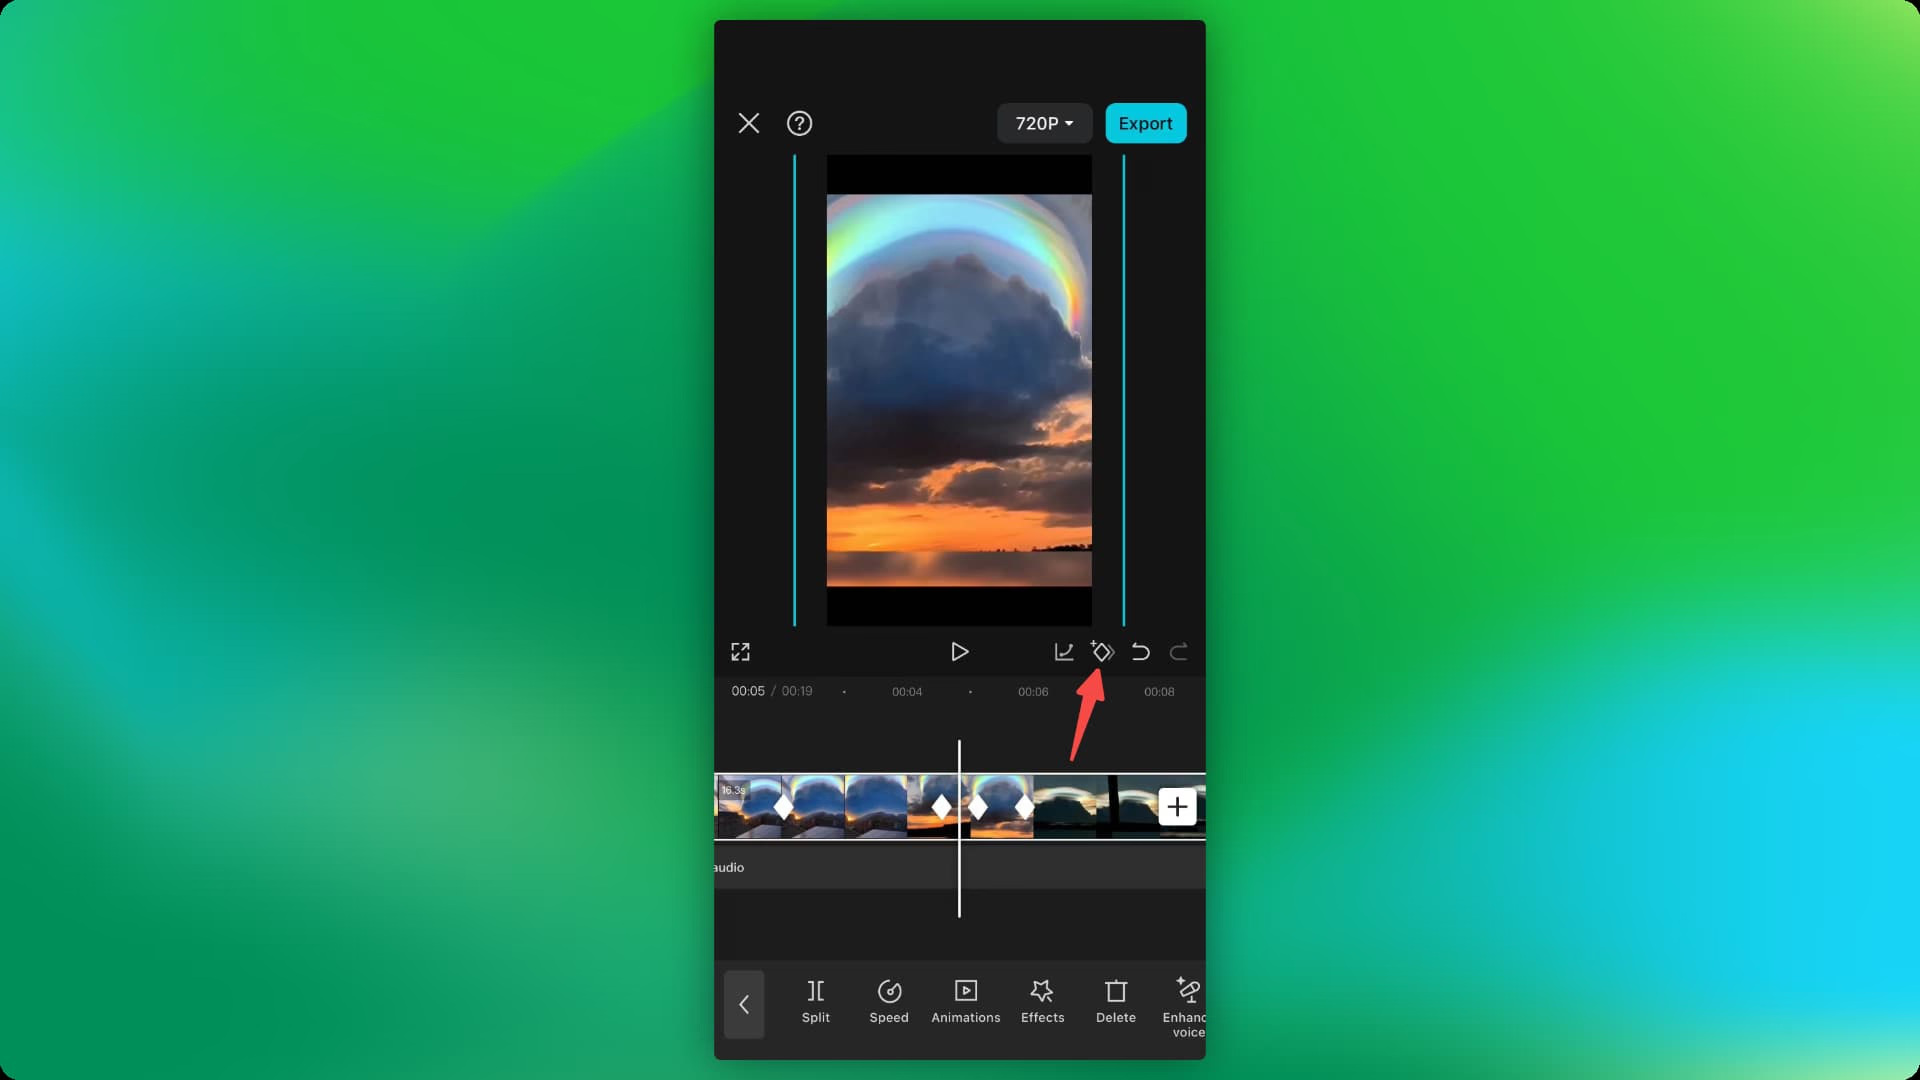
1. Import your video clip into CapCut.
2. Tap the clip on the timeline to select it.
3. Select the "Scale" option from the editing menu.
4. Set your first keyframe at the beginning of the clip with the zoom at its default (100%).
5. Move the playhead to the point where you want the zoom to end.
6. Adjust the scaling percentage to zoom in.
7. CapCut will automatically create a second keyframe.
Or you can check this YouTube tutorial for details.
Step-by-step guide (Desktop):

1. Import your video clip into CapCut.
2. Select the clip on the timeline.
3. In the top-right corner, click on "Video" - "Basic" - "Position & Size"
4. Set your first keyframe at the beginning of the clip.
5. Move the playhead to where you want the zoom to end.
6. Adjust the "Scale" percentage in the Transform panel.
7. CapCut will create a second keyframe automatically.
Or you can check this YouTube tutorial for details.
2. Using Preset Zoom Effects
Available on: Mobile App (Limited availability on Desktop)
CapCut's mobile app provides several preset zoom effects for quick and easy application. The desktop version may have a more limited selection of presets.
Step-by-step guide (Mobile App):
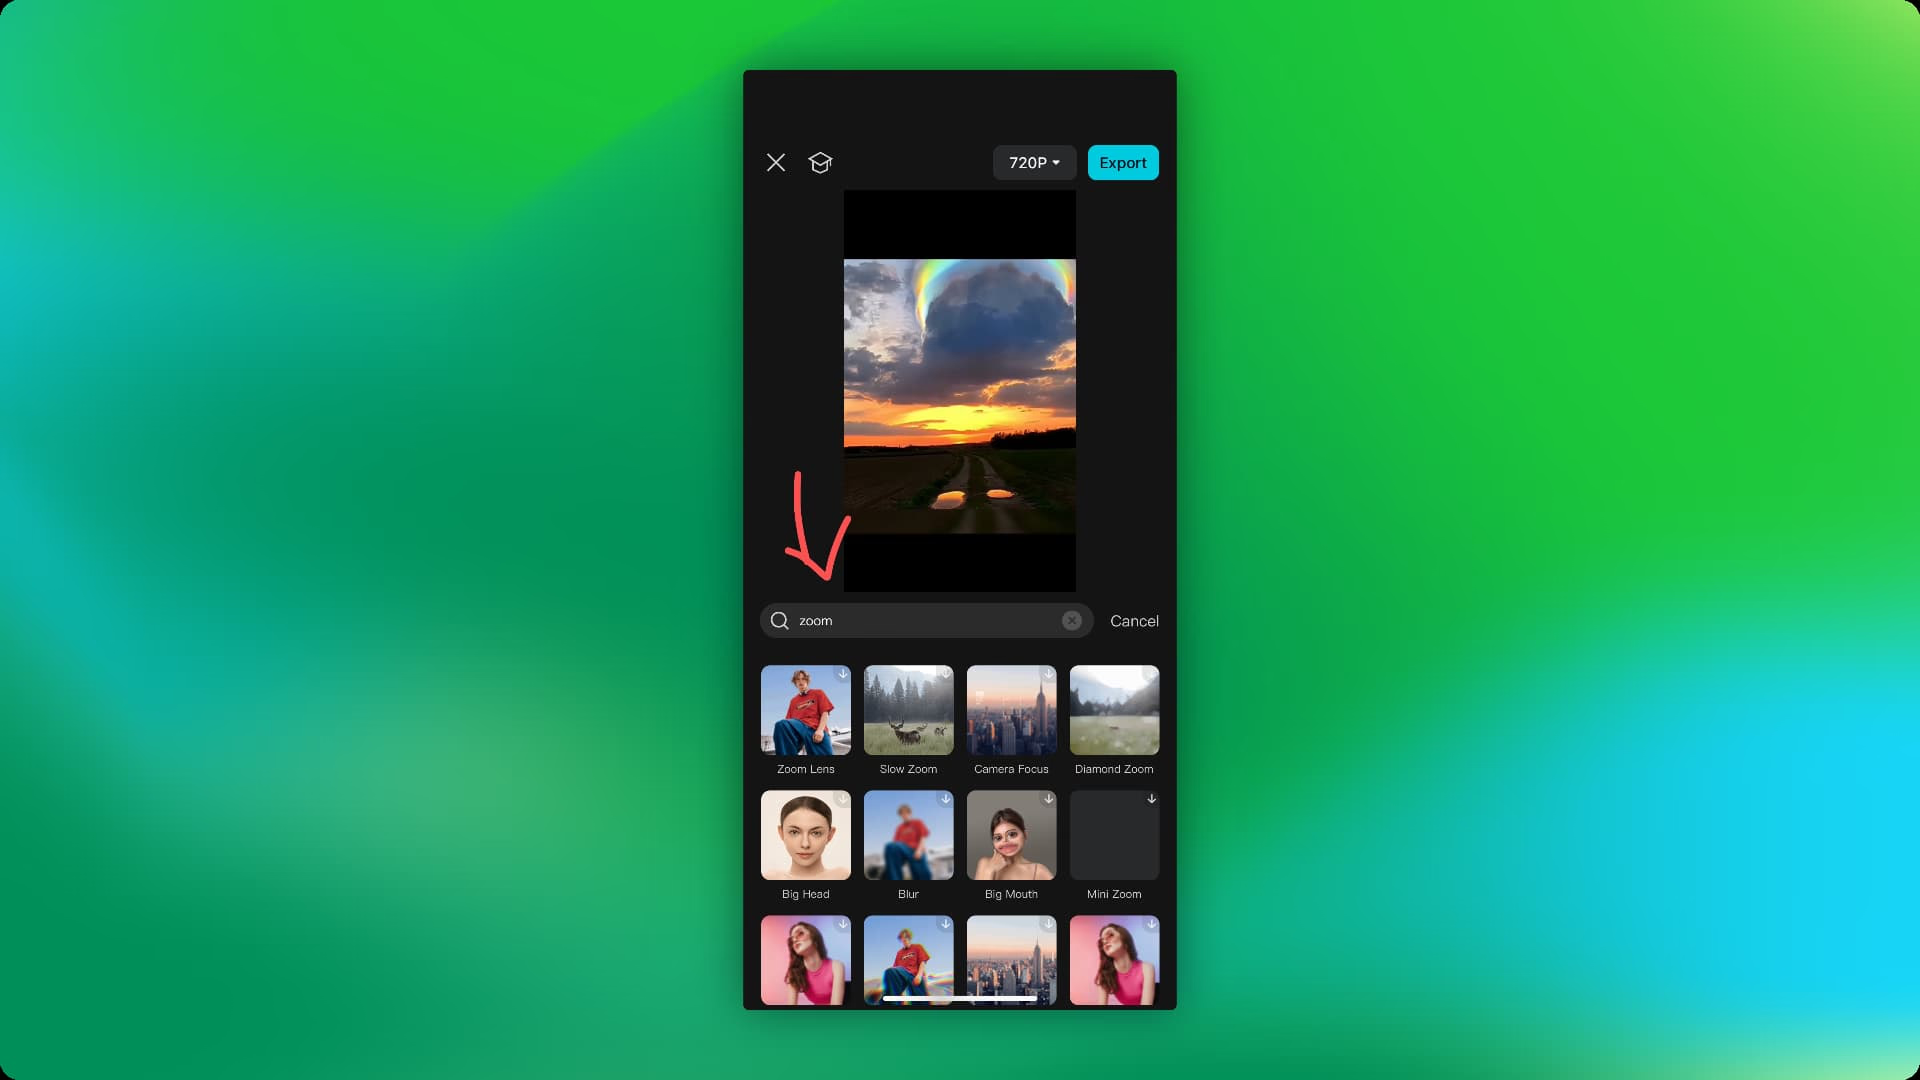
1. Import your video clip into CapCut.
2. Go to the "Effects" tab and select "Video Effects."
3. Search "zoom" and browse through the available zoom presets.
4. Tap on a preset to preview it.
5. Once you've found the desired effect, drag and drop it onto your video clip.
6. Adjust the duration of the effect by dragging the edges of the effect on the timeline.
Step-by-step guide (Desktop):
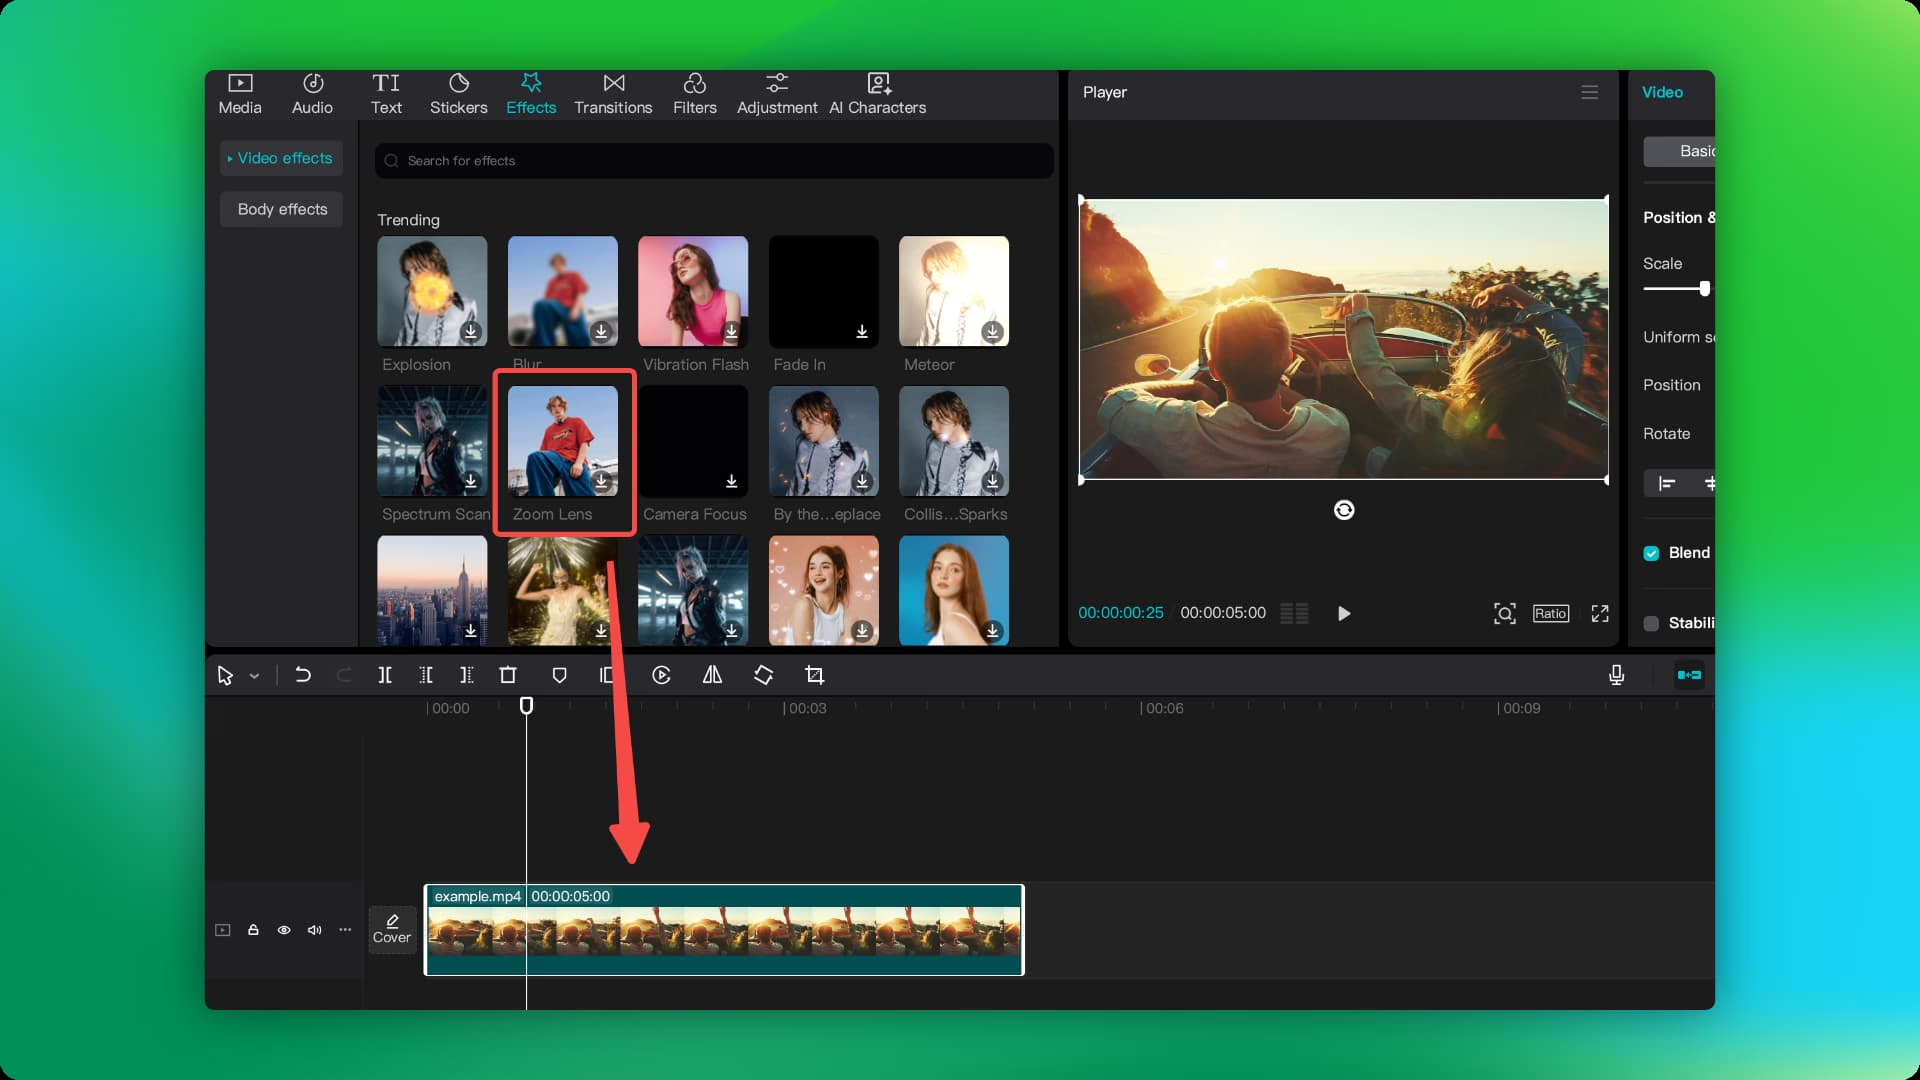
1. Import your video clip into CapCut.
2. Select the clip on the timeline.
3. Click on "Effects" in the top menu.
4. Search for "Zoom" in the effects panel.
5. If available, preview and apply the zoom preset to your clip.
Note: The desktop version may have fewer preset zoom effects compared to the mobile app. Users might need to rely more on manual keyframe animation for precise zoom control.
Tips for Both Versions:
- Always preview your zoom effects to ensure smooth transitions.
- Experiment with different zoom speeds and intensities to achieve the desired effect.
- Combine zoom effects with other transitions or filters for more dynamic results.
Limitations to Be Aware Of:
- Mobile app users might find precise keyframe adjustments more challenging due to the smaller screen.
- Desktop users may have fewer preset options but more control over manual keyframe animation.
- Some advanced features may only be available in the pro or paid versions of CapCut.
Choose Pointa for Quick Zoom Effects
While CapCut is a great video editing tool, Pointa offers a streamlined approach to zoom effects, especially for creating engaging tutorials, presentations, and social media content. Here's why Pointa might be a better choice for your zoom effect needs:
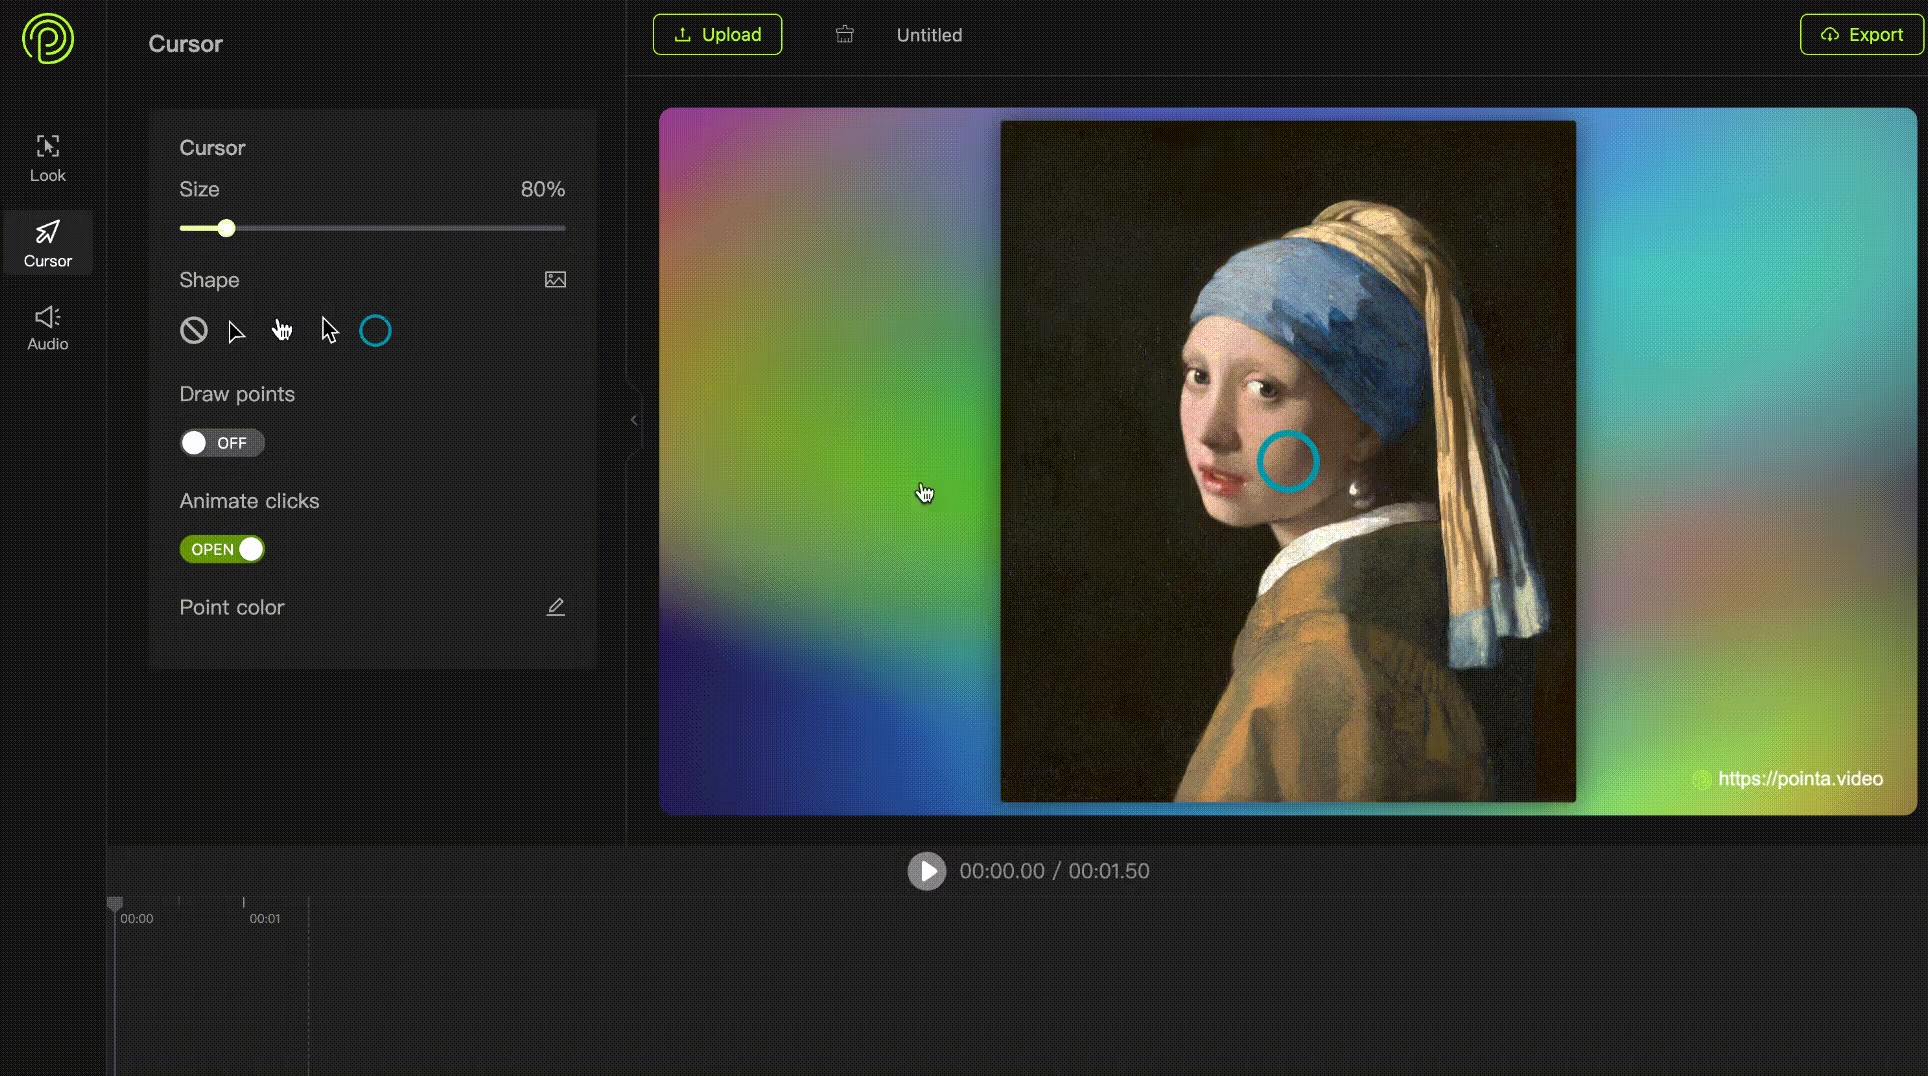
- One-Click Zoom:Pointa simplifies the process with its intuitive one-click zoom feature. Simply mark where you want to zoom, and Pointa handles the rest.
- Focus on Visual Storytelling:Pointa is designed specifically for dynamic visual storytelling. Its features are tailored to make your content clear, concise, and visually appealing.
- Beyond Basic Zooms:Pointa allows you to add text annotations, background music, and even blur sensitive information, making it a more versatile tool for content creation.
Expert Tips for Perfect Zooms
- Keep it subtle: Avoid excessive or jarring zooms that can distract viewers.
- Use zoom sparingly: Only zoom in when it serves a specific purpose, such as highlighting a detail or emphasizing a moment.
- Match the zoom speed to the mood: Slow zooms create tension or emphasize details, while fast zooms add energy and excitement.
- Maintain smooth transitions: Avoid abrupt starts and stops to your zooms. Use easing transitions for a more professional look.
Common Mistakes to Avoid
- Zooming too frequently: This can make your video look amateurish and disorienting.
- Using overly dramatic zooms: Unless you're going for a specific comedic or dramatic effect, keep your zooms subtle.
- Neglecting the rest of the edit: Zooms should complement your overall edit, not overpower it. Ensure they integrate seamlessly with your cuts, transitions, and other effects.
Troubleshooting Zoom Issues
- Jerky or laggy zooms: This could be due to a low-performance device or a large video file. Try closing other apps or reducing the video resolution.
- Zoom not working as expected: Ensure you've selected the correct clip and that the zoom effect is applied to the desired portion of the timeline.
- Zoom effect too fast or slow: Adjust the duration of the effect or add/remove keyframes to fine-tune the zoom speed.
Applying Zoom Effects in Different Scenarios
Social Media Content:
Use quick zooms and preset effects to create eye-catching transitions and highlight key moments in short-form videos.
Tutorials and Explainer Videos:
Utilize slow, deliberate zooms to focus on specific areas of the screen, like button clicks or text instructions.
Cinematic Videos:
Experiment with creative zoom techniques like the "Dolly Zoom" to add drama and visual interest to your shots.
FAQs about Zooming in on CapCut
Can I zoom in on both Android and iOS versions of CapCut?
Yes, the zoom features are available on both platforms.
Can I zoom in on images and text within CapCut?
Yes, you can use the same zoom techniques to enlarge and animate images and text elements.
Is it better to use keyframes or preset effects for zooming?
Keyframes offer more control and customization, while presets are quicker and easier for beginners. Choose the method that best suits your skill level and project needs.
Conclusion
Mastering the zoom effect in CapCut opens up a world of creative possibilities for your videos. Whether you're adding subtle emphasis or crafting dramatic transitions, the techniques outlined in this guide will help you achieve your desired results. Remember to experiment, have fun, and let your creativity guide you!
And if you want to save a lot of your time, try Pointa for free and experience the power of effortless zoom effects and dynamic visual storytelling!
Additional Resources: